
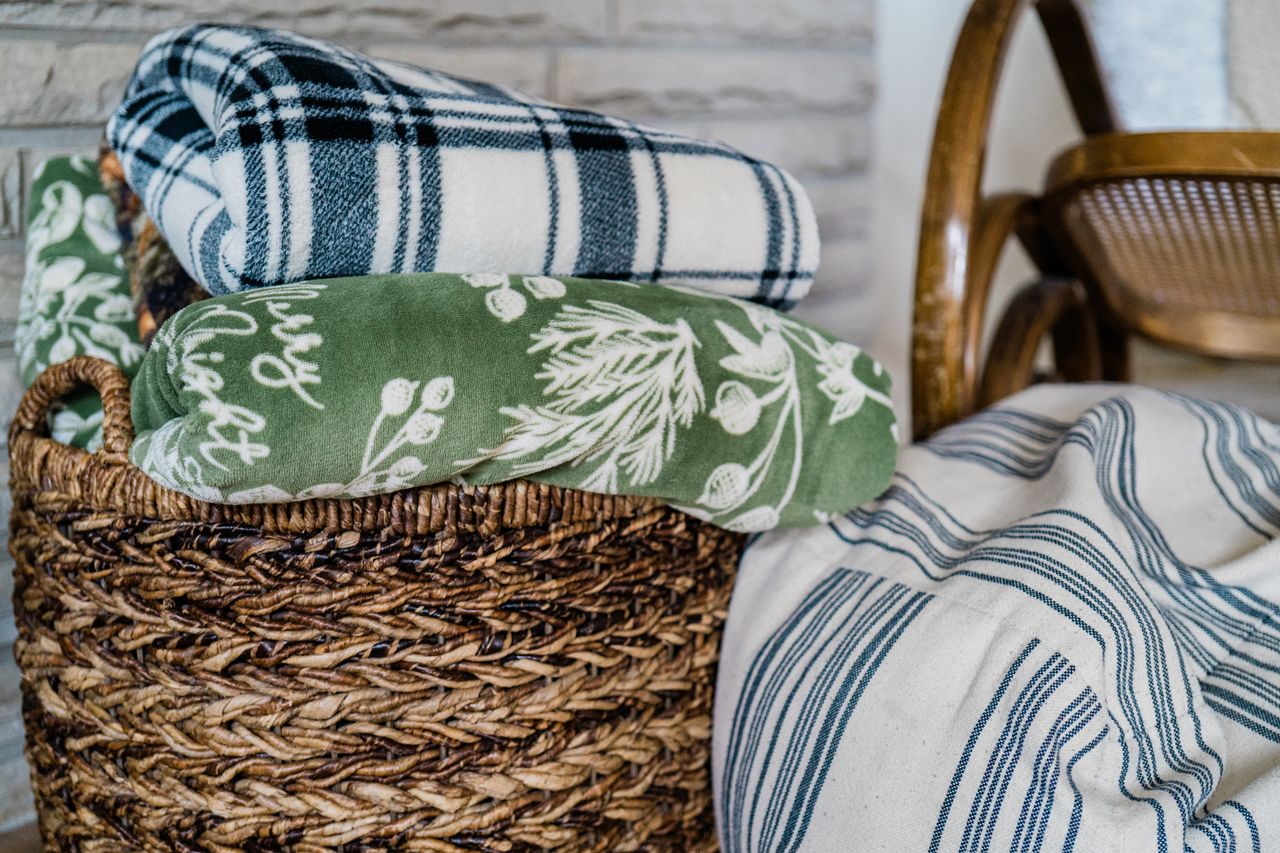
Good storage does not have to be boring. If you have some leftover fabric tucked away in a cupboard, you can turn it into attractive fabric storage baskets that are both useful and decorative.
These DIY baskets are ideal for bedrooms, bathrooms, home offices, craft rooms or children’s rooms. They are also a great way to use up fabric remnants that are too good to throw away.
What You’ll Need
For a basic fabric storage basket, gather:
- Two pieces of cotton fabric
- Medium-weight fusible interfacing
- Fabric scissors
- Sewing machine
- Matching thread
- Pins or fabric clips
- Tape measure
- Iron
- Fabric marker or pencil
Choose two complementary fabrics for a reversible look, or use the same fabric throughout for a simpler finish.
Measure Your Basket
Decide how large you want your finished basket to be. A small basket is useful for toiletries, sewing supplies and cables, while a larger one can hold towels, toys or magazines.
For a simple rectangular basket, cut two outer fabric pieces and two lining pieces to the same size. Add a seam allowance of around 1cm to each edge.
The exact measurements aren’t important as long as the pieces are consistent, so this is a good project for experimenting with different sizes.
Add Some Structure
Iron the fusible interfacing onto the wrong side of the outer fabric, following the manufacturer’s instructions.
This step makes a big difference. Without interfacing, the basket may be too floppy to stand upright. A medium-weight interfacing gives the fabric enough structure while keeping the basket flexible.
Once attached, fold and press the fabric carefully so you have neat edges to work with.
Sew The Basket
Place the outer fabric pieces together with their right sides facing each other. Pin around three sides and sew, leaving the top open.
Repeat with the lining fabric, but leave a small opening in one of the side seams. This will allow you to turn the basket the right way around later.
To create a boxed bottom, pinch each corner so the side seam meets the bottom seam. Mark a straight line across the corner and sew along it. Repeat on the other corner.
Do the same with the lining.
Place the lining inside the outer basket, with the right sides facing each other, and sew around the top edge.
Carefully turn the basket through the opening in the lining and push out the corners.
Finally, close the opening in the lining with a neat row of stitching and press the finished basket.
Make It Your Own
This project is particularly good for adding your own personality. Try gingham for a country kitchen, botanical prints for a bedroom or bold geometric fabrics for a modern home office.
You could also add a contrasting fabric cuff around the top, a simple fabric label or a small leather-look handle.
For a craft room, make several baskets in coordinating fabrics and use them to organise ribbons, wool, stationery and other supplies.
A Useful Weekend Craft
DIY storage is at its best when it combines practicality with something personal, and these fabric baskets do exactly that. They can be made in an afternoon, customised to fit almost any space and created from fabrics you already have.
It is a simple sewing project, but the finished result can make a surprisingly big difference to an otherwise untidy shelf or cupboard.