There is something lovely about finding a flower tucked inside an old book. It might remind you of a garden, a sunny afternoon or a walk taken years ago. Making your own pressed flower bookmarks is a simple craft that turns those little moments into something useful. They also make thoughtful handmade gifts for book lovers, friends or anyone who enjoys a quiet afternoon with a good novel.
What You Need To Make Pressed Flower Bookmarks
You do not need a huge collection of craft supplies for this project. A few flowers, some card and a little patience are enough to get started.
- Small pressed flowers and leaves
- A sheet of thick white or cream card
- Clear self-adhesive laminating sheets or laminator pouches
- Scissors
- A hole punch
- Ribbon or twine
- A heavy book, if you want to press your own flowers
If you are collecting flowers from your garden, choose small, flat blooms. Pansies, daisies and tiny leaves work particularly well. Make sure you have permission to pick any flowers you collect.
How To Press Your Own Flowers
Place your flowers between two sheets of plain paper and carefully close them inside a heavy book. Add a few more books on top for extra weight and leave them somewhere dry for around one to two weeks.
The flowers should feel dry and flat when they are ready. If they still feel damp, give them a little longer. Rushing this part can lead to flowers that do not keep their shape.
Alternatively, you can buy ready-pressed flowers from craft shops, which is ideal if you want to start making your bookmarks straight away.
Creating Your Handmade Bookmark
Cut a piece of card into a long rectangle, roughly 5cm wide and 15cm long. You can make it narrower or wider depending on your preference.
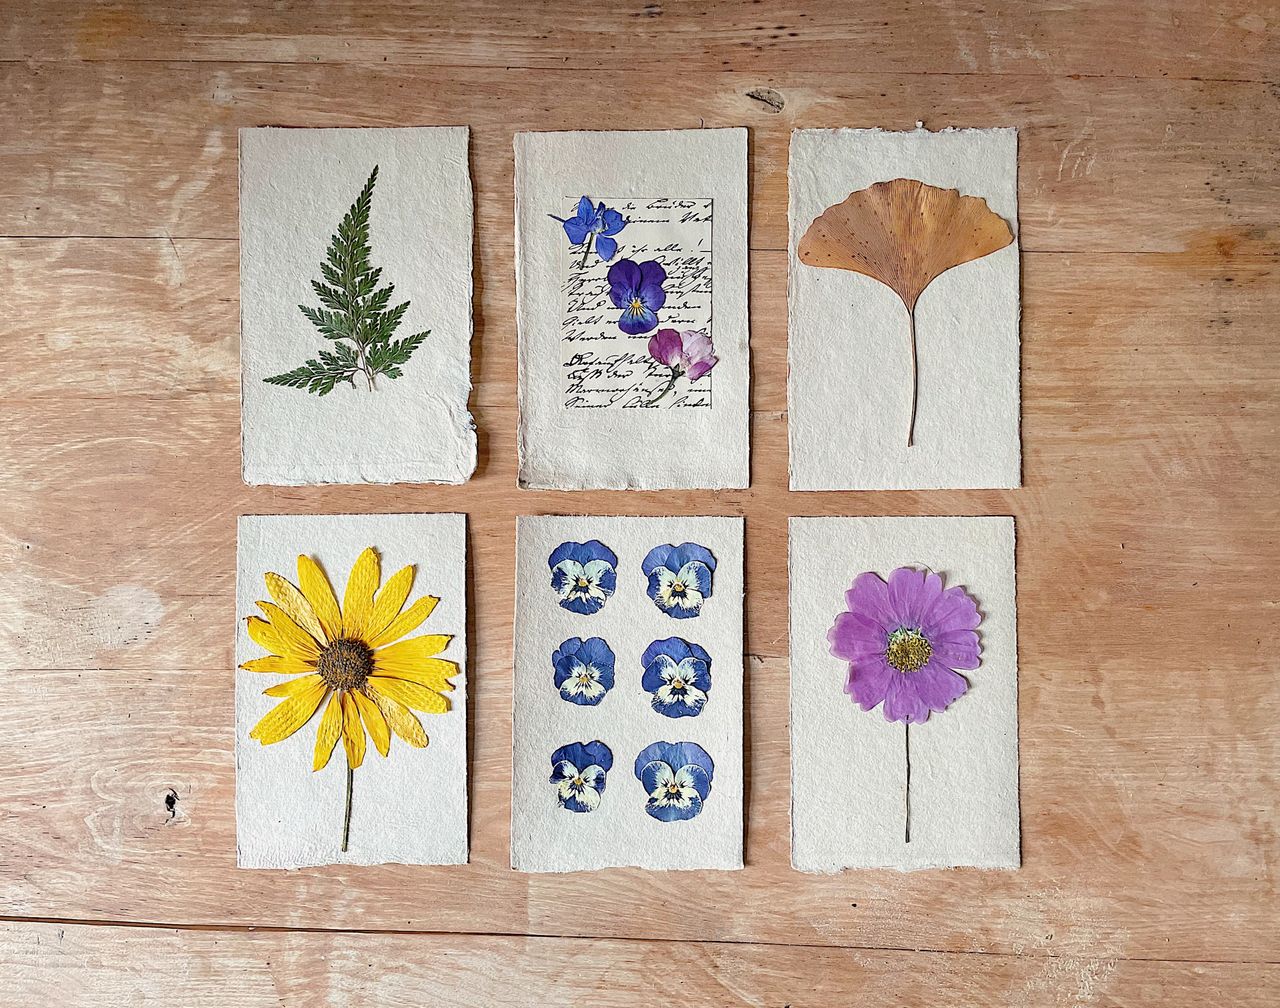
Arrange your pressed flowers on the card. Try placing one larger flower near the bottom, with smaller leaves and petals around it. You could also create a simple pattern using flowers in similar colours.
Once you are happy with the design, carefully place the card inside a laminating pouch or between self-adhesive laminating sheets. Follow the instructions on your chosen product to seal it.
Trim the edges neatly, leaving a small border around the card. Punch a hole at the top and thread through a piece of ribbon or twine.
Make It Your Own
This craft is particularly lovely because every bookmark can be different. You could use pink and purple flowers for a romantic design, green leaves for a natural look or bright yellow blooms to bring a little sunshine to your reading.
For a personalised gift, add a small handwritten message to the back of the card before laminating it. A favourite quote or the recipient’s name makes the bookmark feel extra special.
Featured image: by Merve Bayar via pexels